


This is part of our series: Building an Overland Vehicle: A Complete Guide to Upgrading Your Rig.
Now that we've assessed your vehicle's baseline capabilities and identified your overlanding goals, it's time to dive into the meat of our guide: essential modifications. These upgrades form the backbone of any serious overlanding build, transforming your stock vehicle into a capable off-road machine ready to tackle the challenges ahead.
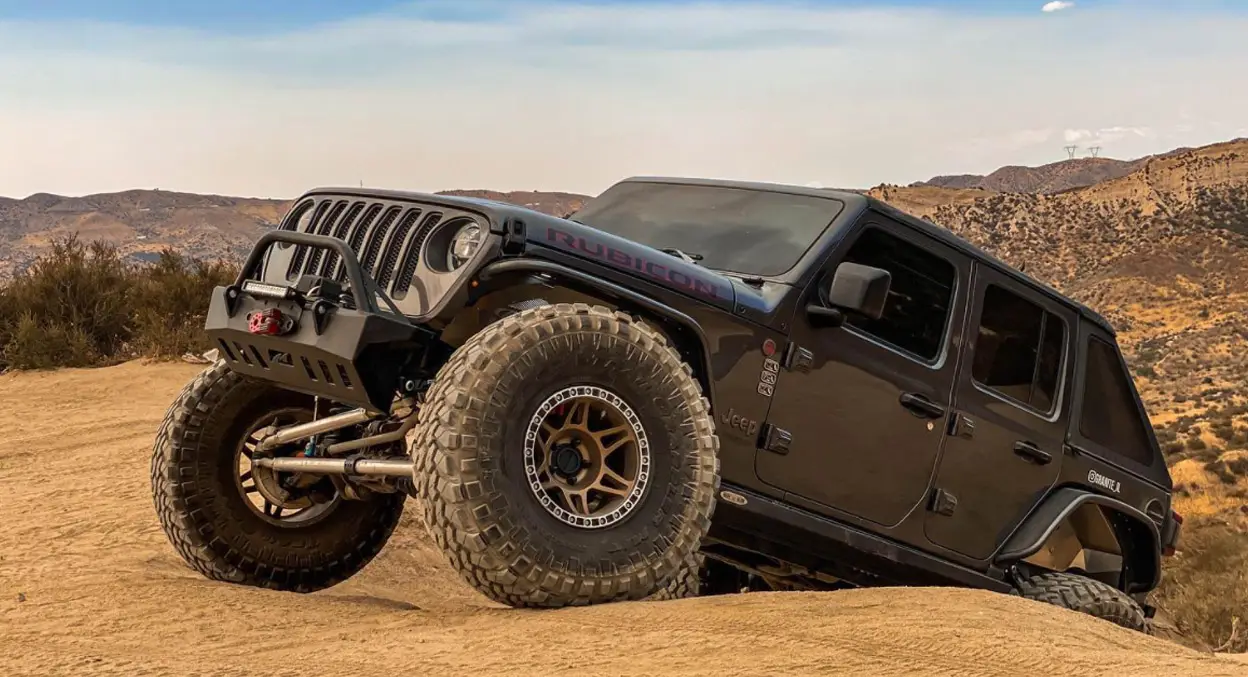
Suspension Upgrades
The suspension is your vehicle's first line of defense against rough terrain. A robust suspension system improves ride quality and enhances your vehicle's off-road performance and durability.
Key suspension upgrades include:
- Lift kits: These provide additional ground clearance, allowing you to navigate over more significant obstacles.
- Heavy-duty springs: Designed to handle the extra weight of overlanding gear and resist sagging under load.
- High-performance shock absorbers: These help maintain tire contact with the ground, improving traction and control.
When choosing suspension upgrades, consider the terrain you'll be tackling. For rocky trails, you might prioritize articulation and flexibility. For high-speed desert runs, you'll want a setup that can handle repeated impacts without overheating.
Tires and Wheels
Your tires are quite literally where the rubber meets the road (or lack thereof). Choosing the correct set can make or break your overlanding experience.
When selecting tires, consider:
- Size: Larger tires provide more ground clearance but can affect your vehicle's gearing and fuel efficiency.
- Tread pattern: All-terrain (A/T) tires offer a good balance of on-road comfort and off-road capability, while mud-terrain (M/T) tires excel in loose and muddy conditions but can be noisy on pavement.
- Load rating: Ensure your tires can handle the extra weight of your overlanding setup.
For overlanding, the ideal tire size typically ranges from 31 to 33 inches. This size range provides a good balance between increased ground clearance and maintaining reasonable fuel efficiency. Larger tires (up to 35 inches) can offer even more clearance and obstacle-clearing ability, but they may require additional modifications to your vehicle and can significantly impact fuel consumption.
As for wheels, opt for strong, lightweight options. Beadlock wheels, which mechanically clamp the tire to the wheel, can be beneficial for extreme off-roading at very low tire pressures.
The ideal wheel size for overlanding is typically 16 or 17 inches. This size offers a good balance between off-road performance and on-road comfort. Smaller wheels allow for tires with taller sidewalls, which can provide better cushioning and traction in off-road conditions. Additionally, 16 and 17-inch wheels are more common sizes, making it easier to find replacement tires in remote areas during your travels.
When choosing wheels, consider factors such as:
- Material: Aluminum alloy wheels are popular for their strength-to-weight ratio.
- Offset: Ensure the wheel offset is appropriate for your vehicle to maintain proper clearance and handling.
- Load rating: Like tires, wheels should be rated to handle the weight of your fully-loaded overlanding vehicle.
Remember, the right combination of tires and wheels can significantly enhance your vehicle's capability and your overall overlanding experience.
Protection Upgrades
When venturing into the backcountry, your vehicle becomes your lifeline. The rugged terrain, unexpected obstacles, and harsh conditions can put your rig to the test. That's where protection upgrades come in. These modifications are not just about looking tough; they're about ensuring your vehicle can withstand the challenges of overlanding and get you back home safely. Let's dive into the world of protection upgrades and see how you can armor your rig for the unknown.
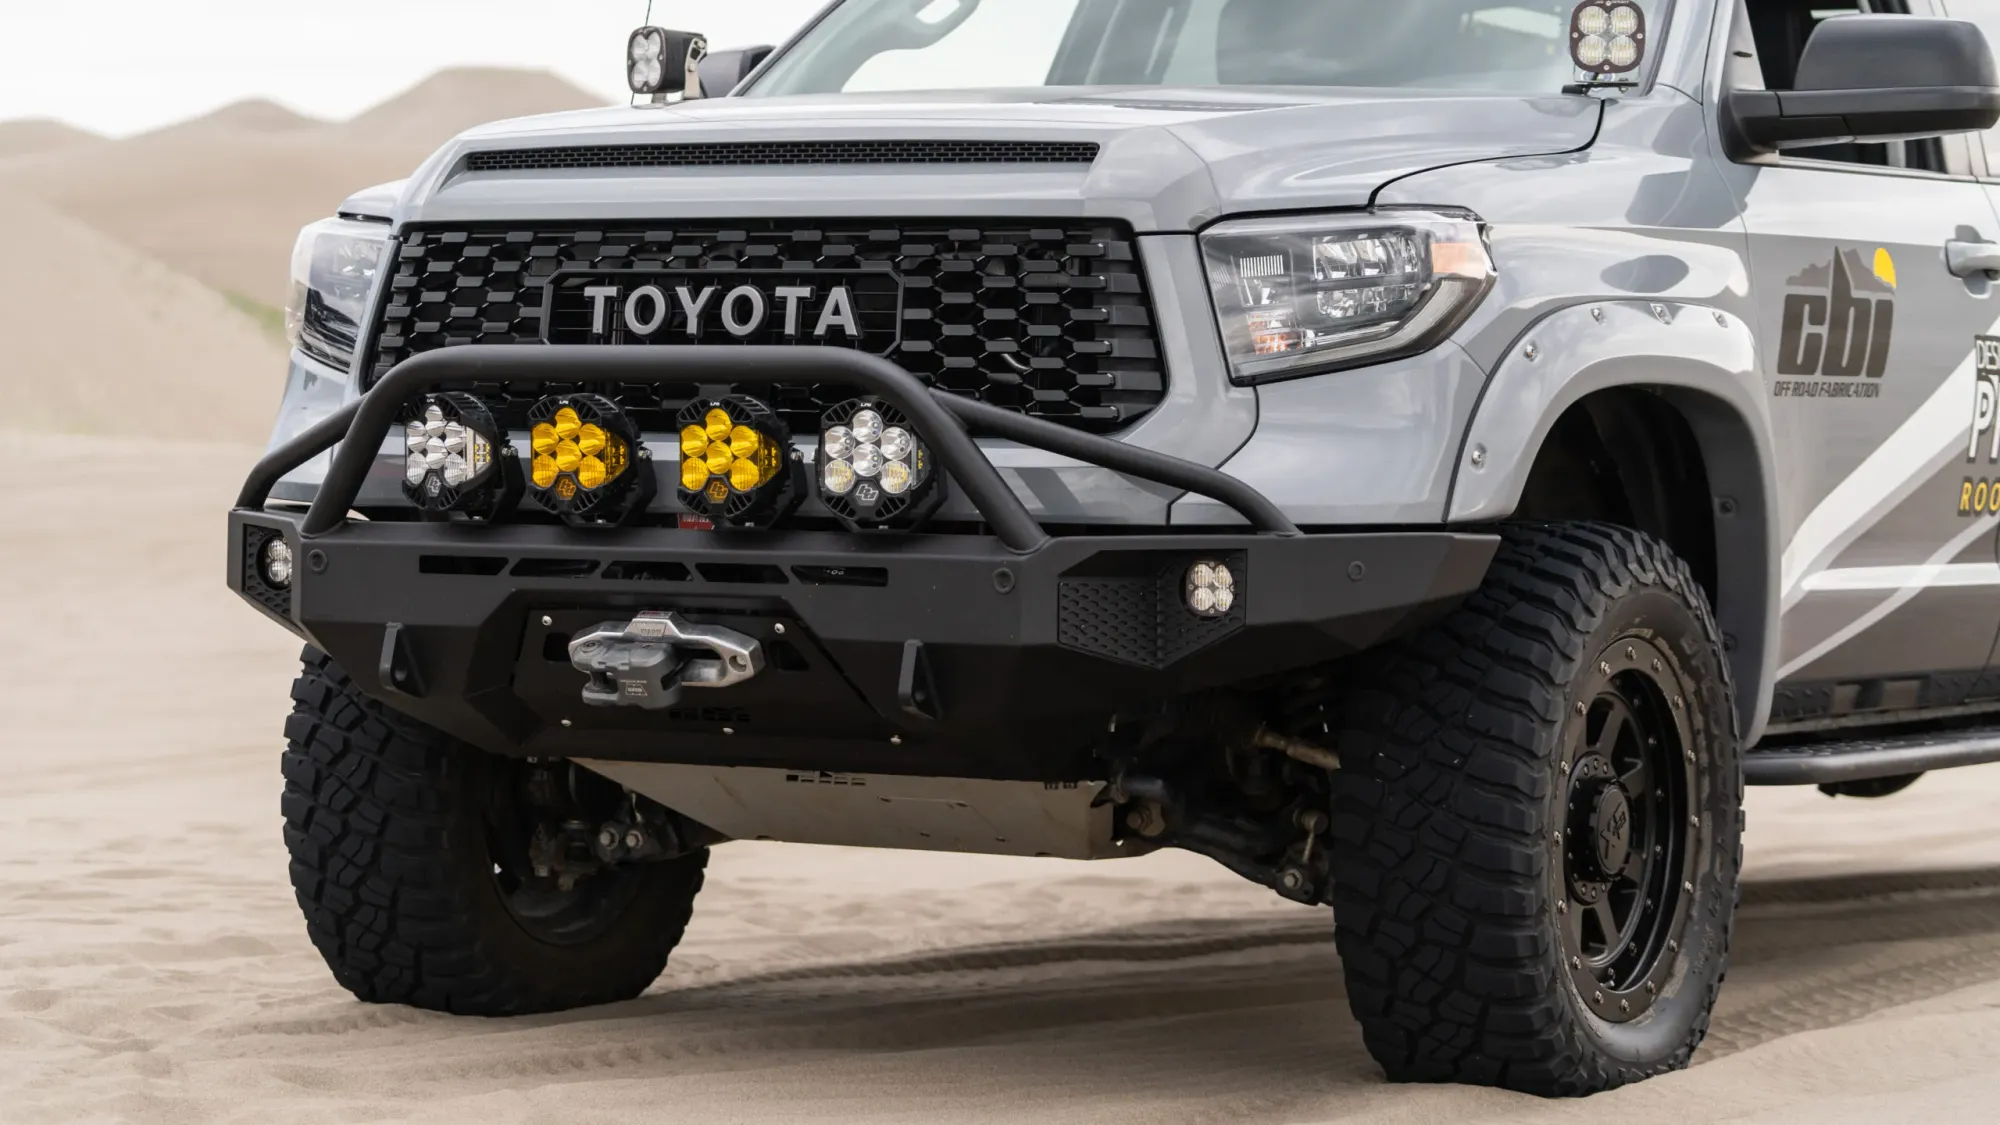
Bumpers (Front and Rear)
Bumpers are your vehicle's first line of defense against obstacles and impacts. Aftermarket bumpers offer increased protection for vital components like your radiator, headlights, and fuel tank. They also provide mounting points for winches, lights, and other accessories.
Performance Impact:
- Added weight can affect fuel efficiency (2-5% decrease on average)
- Can improve approach/departure angles for better off-road performance
Skid Plates
Skid plates protect your vehicle's undercarriage from rocks, stumps, and other obstacles that could damage vital components like the oil pan, transmission, or transfer case.
Performance Impact:
- Weight addition varies but typically 20-50 lbs depending on coverage
Rock Sliders
Rock sliders protect your vehicle's rocker panels and provide a step for easier entry/exit. In extreme situations, they can support the entire weight of the vehicle on obstacles.
Underbody Protection
Comprehensive underbody protection shields your entire undercarriage, including the fuel tank, brake lines, and other vulnerable components.
Performance Impact:
- Can add significant weight (50-100 lbs)
Differential Guards
Differential guards protect your vehicle's differentials from impacts with rocks and other obstacles, preventing costly damage to these crucial components.
Balancing Protection and Weight
While protection is crucial, it's important to remember that every pound added to your vehicle impacts its performance and fuel efficiency. A fully armored rig can easily add 200-300 lbs to your vehicle's weight. This can affect acceleration, braking distance, and fuel consumption. According to some estimates, every 100 lbs added to a vehicle can reduce fuel economy by about 1-2%.
The key is to prioritize protection based on your specific needs and the terrain you'll be tackling most often. Consider the following tips:
- Assess your typical terrain: Rocky trails might prioritize skid plates and rock sliders, while muddy conditions might emphasize bumper protection.
- Consider your driving style: Aggressive drivers might need more comprehensive protection than cautious ones.
- Start with the basics: Front bumper, skid plates, and rock sliders provide a good foundation for most overlanding builds.
- Upgrade incrementally: Add protection as you gain experience and tackle more challenging terrain.
Winches and Recovery Points
When you're miles from civilization, stuck in mud up to your axles or perched precariously on a rocky incline, a winch and proper recovery points can be the difference between a minor setback and a major disaster. These essential overlanding modifications aren't just about getting yourself out of sticky situations – they're about peace of mind and self-reliance in the backcountry.
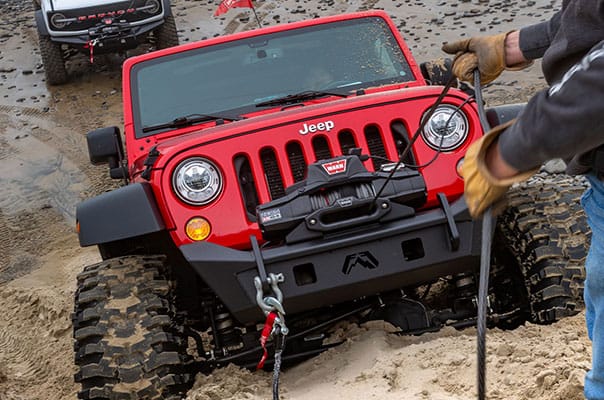
The line you use with your winch is just as important as the winch itself. There are two main types:
- Steel Cable: The traditional choice, steel cables are extremely strong and resistant to abrasion. However, they are also very heavy and can cause dangerous whiplash if they break under tension. Steel cables require regular maintenance to prevent corrosion.
- Synthetic Rope: Made from materials like Kevlar or Dyneema, synthetic winch lines are much lighter than steel while still offering excellent strength. They are more resistant to abrasion and have a longer service life. Synthetic ropes stretch under load, which reduces shock loads. The downside is they can be damaged by excessive heat buildup.
For overlanding, synthetic winch lines are often preferred due to their lighter weight, increased safety, and easier handling compared to steel cable. Just be sure to inspect them frequently and replace if you notice any damage or excessive wear and tear from rugged use. Proper winching technique is also crucial with any line material to avoid overheating or shock loads.
Winch Capacity Selection Guide
The golden rule is to choose a winch with a capacity of at least 1.5 times your vehicle's gross vehicle weight rating (GVWR). For example, if your rig weighs 5,000 lbs fully loaded, you'll want a winch rated for at least 7,500 lbs.
Here's a quick reference:
- Lightweight SUVs/Trucks: 8,000-10,000 lbs capacity
- Mid-size SUVs/Trucks: 10,000-12,000 lbs capacity
- Full-size SUVs/Trucks: 12,000-16,500 lbs capacity
Remember, more capacity is always better, as it provides a safety margin and accounts for the increased effort needed to pull a vehicle out of mud or up an incline. A winch is a powerful tool that demands respect and proper training. Always prioritize safety and never exceed the limits of your equipment or skills.
Recovery Points
Importance of Factory vs. Aftermarket Recovery Points:
Factory tie-down points are often not designed for the forces involved in vehicle recovery. Aftermarket recovery points are engineered to withstand the extreme loads encountered during winching and recovery operations.
Front and Rear Recovery Point Options:
- Front: Often integrated into aftermarket bumpers or mounted to the vehicle's frame.
- Rear: Can be frame-mounted or integrated into rear bumpers. Trailer hitch receivers are not suitable recovery points!
Load Ratings and Safety Factors
Look for recovery points rated to at least the Gross Vehicle Mass (GVM) of your vehicle. Many quality recovery points are rated to 2-3 times the vehicle's weight for an added safety margin.
As we move into our next section on enhancing comfort and convenience, remember that these essential modifications form the foundation of your overlanding rig. They're the difference between conquering that gnarly trail and turning back in defeat. With your vehicle now capable of handling rugged terrain and equipped for self-recovery, we can turn our attention to the upgrades that will make your extended stays in the wilderness possible, comfortable, and enjoyable.
Up next in this series: Enhancing Comfort and Convenience


